Category - Wood Working Projects

Spokeshaves, Travishers, a Buzz and a Jarvis

These tools are wooden handled planes and scrapers with special smaller soles designed for specific purposes.  This is a step up from the drawknife and offers more control and can impart a smoother finish.  The two handles give the user more control over the direction, shape and depth of the cut.  Early nineteenth century handles tend to be larger and with less curves than those of later manufacture, although this is not a hard fast rule.  Some early designs have flared oval handles with fine lines.


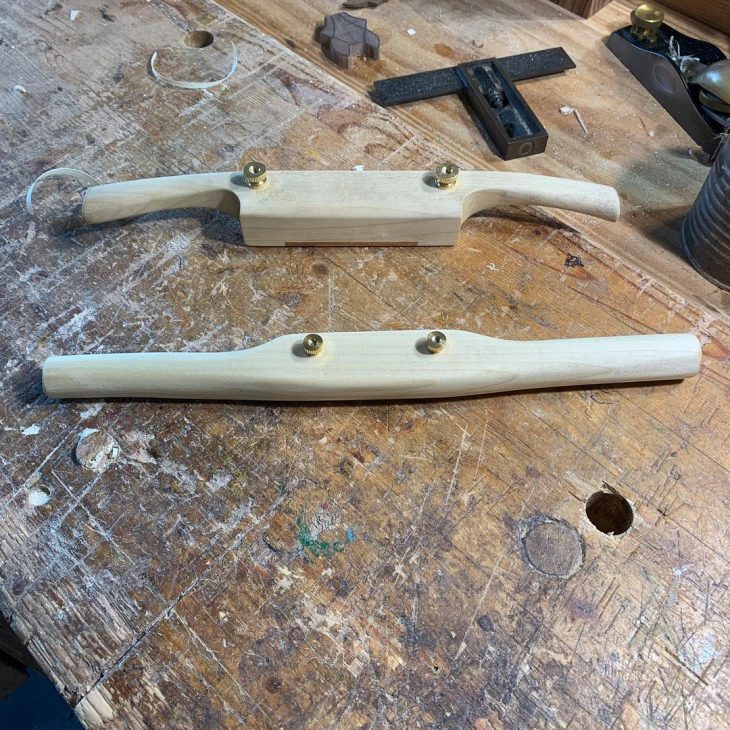
Spokeshave is a wooden double handled tool with a steel cutter that is used to shape of all things wagon wheel spokes, hence the name.  The blade is held into the body with two tangs that pierce the body in square tapered mortices that hold the blade at the correct position by a friction fit.  The bevel side of the blade faces up with the flat side on the sole.  The body of the spokeshave usually made of beech or other hard dense wood has handles molded on both sides of the narrow thin body that holds the blade.  The small sole or face of the spokeshave allows the tool to work on tight inside or outside curves as well as for straight work.  The sole of the wooden spokeshave just ahead of the mouth and blade may be equipped with a wear plate.  Some come from the manufacturer as brass plates fixed with iron screws.  Others are added as the original sole wears out and small pieces of dense material such as bone, ivory, boxwood, lignum vitae or apple wood is dovetailed into the base and can be easily replaced as it wears.  Most soles on spokeshaves are flat but some are made with soles that are rounded from front to back to allow working tight inside curves and surfaces.


The cutting depth of the wooden spokeshave is determined by how far the blade is projecting below the base or sole of the spokeshave.  The more the blade is projecting the greater the cut.  By tapping on the tangs the blade is moved out.  Tapping with a wooden mallet on the base of the blade at the tangs decreases the cut of the spokeshave.  If the tangs become loose in their mortices small thin hardwood wedges can be made to secure the tangs.  They are placed on the end grain side of the mortice to push out in the proper direction to prevent the spokeshave body from splitting.


Not limited to wagon wheel spokes, the spoke shave can be used to shape slats for chairs, rough out work for turning on the lathe or making other spindle work.


Using a spokeshave is like using a small two-handled plane and should be worked with the grain of the wood, as you would do with a low angled hand plane.  Working the spokeshave blade at a skew to the grain of the wood will produce a finer cut.  On tricky grain changes you can work cross grain to smooth out the work.


You will develop a feel for this tool and in some cases you will use it on the push stroke, which seems to be the more common method of using this tool.  You will also find that it can be of help to be able to use the tool on the pull stroke.  Your grip on the handles will give you the necessary control to be able to present the blade to the wood at the proper angle.  The oval shape to the handles also gives better leverage and control when using this tool.


Metal Spokeshave was introduced in the nineteenth century and used extensively by the coach making and wheel making trades.  Its popularity stems from its durability in a hostile shop environment.  Coaches are made in the center of the shop on sawhorses and the tools were frequently on the floor among the chips, shavings and sawdust.  Stepping on a wooden handled spokeshave could ruin the tool and with the Industrial Revolution in full swing, cast metal spokeshaves were a boon for the coach making trades.  The configuration of the metal spokeshave is different from the traditional wooden spokeshave in that the blade is more like a plane blade with the bevel down.  Metal screws or thumbscrews hold the blade in place and makes blade adjustment easy.  These are available with flat soles or curved soles and a flat blade; others have convex or concave sole and blade for special purpose shaping.  This tool never completely replaced wooden spokeshaves as they are completely different tools and work in distinct ways.


Travisher is a spokeshave with a convex blade and is used for hollowing on seat bottoms, bowls, trenchers and other inside curves.  Some of these early examples have beautiful curves to the base and the handles.  The configuration of the blade is the same as a wooden spokeshave with the low cutting angle on the blade; the difference is the large sweeping curve of the blade and body.  When the tool becomes dull, it tends to chatter and catch in the wood, so keep the blade sharp to make your work easier.  This tool is easier to work on the push stroke because your thumbs need to be held down on the body to give you a purchase on the tool and to keep the blade engaged with the wood.  If you try and pull the tool towards yourself, the leverage will work against you.  It is much easier to work on the push stroke.  To clean up the bottom of a cut, the travisher is used across grain to deal with the changing grain direction and using at a skew can also help smooth the grain.  There is also a scraper version of this tool that has an almost vertical blade sharpened like a cabinet scraper.  It can be used to smooth up after the spokeshave version as brought the work to rough shape.


Buzz is a term for a simple cabinet scraper.  A common use of these tools was to smooth down the outside of coopered barrels.  These tools can have a flat base but most are concave to handle the curved staves of the barrel.  It is used in the direction of the grain of the wood, so the concave sole is from side to side.  The staves are worked from the center bulge of the barrel to each end.  The blade is sharpened like a cabinet scraper with a bevel ground on one side to a 60 to 70° angle and a burr is turned towards the flat side.  The angle of the blade can be at 90° to the sole or it can slat forward 5° or so.  The two wedges hold each edge of the scraper blade tight in the body of the buzz.  A small piece of leather or veneer is placed behind the blade before it is secured.  This will cause the blade to bow out slightly producing a fine cut when properly sharpened and set.  It may require a bit of fussing getting the bow just right but then once you get it right it becomes quite easy.  If the tool chatters during use, it usually means that the blade is set too proud.  When the shavings from this tool turn from clean thin scrapings to powder or dust the tool is dull and requires re-sharpening.  Versions with flat soles can be used just as a cabinet scraper; the flat bottom helps keep the scraping flat and smooth.  This tool is usually worked by holding with both hands, with the thumbs down on the body of the tool and pushing the tool away from yourself.  You can also pull the tool towards yourself but the control may not be as exact as with the push stroke.  This tool also cuts well against the grain of the wood, but produces the finest cut when worked in the direction of the grain.


Jarvis is a tool similar to a buzz a cabinet scraper built for a specific purpose.  Used to smooth tool handles, spokes and other round cylinders of wood.  After a split of wood is roughed out using an ax, drawknife and spokeshave, the Jarvis is used to scrape the wood smooth.  If the wood is cut rather than split then attention needs to be paid to the grain direction and as always work with the grain.  A split of wood insures that the grain of the wood runs from end to end.  On splits of wood, one end will be slightly larger that the other as the tree gets smaller towards the top of the tree.  Start at the large end and work towards the smaller end to prevent the tool from digging into the grain.  This is more important with cutting tools more than with a scraping tool like a Jarvis.  Scrapers will work in both directions of the grain of wood, but with the grain is always smoother.  When the fine shavings turn to dust or powder instead of fine thin shavings, the tool is dull and needs to be sharpened. 
Also Boring

This is a continuing discussion of the art of making holes.  Besides the typical brace and bit there are other methods of drilling holes, these include some of the earliest tools used by mankind.  Some of these ancient inventions are still of use today.  The whole idea is to make a hole.  Some of these methods make crude, rough holes others can make very fine, delicate piercing.  During the stone age when man first used tools, sharpened rocks were used to scrape holes in wood.  About 6000 years ago man developed the technology to make bronze tools, which were hard enough to make augers to drill holes.  Some archaic methods of hardening bronze and copper gave them a very hard edge that would take wear, a technique that is lost in history.  Then about 3000 years ago our ancestors smelted and produced iron, which was a superior improvement over bronze and would hold an edge.  Then sometime before the 12th century, blacksmiths were able to include nearly 2% carbon into their iron to produce steel, which could be hardened much harder than iron.  Steel held an edge, did not wear like iron but was more brittle and expensive.  Used in conjunction with iron and placed on the working edges of tools and later these tools were made entirely of steel.


Burn Auger – The burn auger produces a hole in wood by burning the wood and reaming out the char with the auger itself.  This style of auger is thousands of years old and even the crudest bog iron can burn a smooth hole.  Usually square iron tapered to a point with the handle bent at 90º to provide leverage and a grip for this hot tool.  It is heated in a fire and the point is thrust into the wood and twisted, burning and reaming the wood to the desired size.  The taper allows for different size holes to be made with one tool.  Useful for work in the woods and for certain applications provide just the desired results.  The holes tend to have smooth edges because of the charring and this can be helpful for lacing such as canoe making.  The fire also hardens the hole so it will wear better than a mechanically bored hole.  Almost any piece of metal that can be heated to even a dull red will burn a hole in most woods.  A popular method of drilling used by the Native Americans.


Bow Drill – Perhaps the oldest mechanical drill, a quill or spindle is reciprocated back and forth by a string held in shape with a bow.  This mechanical advantage would quickly spin the drill back and forth, so the bit is sharpened to cut in both directions.  The idea undoubtedly dates to the Stone Age with refinements until fine ebony, brass and steel are combined into exquisitely made examples of nineteenth century pre-industrial revolution, craftsmanship.  I recently made yet another bow drill, a copy of an 1840’s piece in the Smithsonian, although mine was all wood.  I made the handle and bow from one piece turned and carved section of proper straight grain hickory.  The pulley and ratchet is beech and the pawl, maple.  I turned beech bobbins for the flat double cut bits made from large wire nails and are usually made as one unit with a fixed bit.  Some have round tapered chucks to hold interchangeable bits.  A separate wedge is used to remove the bits from the tight fitting tapered chuck.  The hand plate of mine is fashioned from chestnut with an iron bearing plate let in to the flat side.  Some of these plates were made to be worn as a bib on the chest for pushing on the bobbin/bit, others are just handles.  There is a trick to using this drill and it takes good eye hand coordination to keep the string on the bobbin.  If you are having trouble, try pointing the tip of the bow down as you work the bow back and forth.  An excessive amount of work for an archaic tool, but it is fun to use occasionally, especially for shallow holes and looks great on the shop wall.


Pump Drill – This is one of my favorite drills, perhaps it is from its unique reciprocal action, the rhythm necessary to successfully use this tool, you can use it with one hand or just because it is nifty.  A pump drill consists of  three parts and the bit, again this tool cuts in both directions so it requires special bits and some have chucks for changing bits, others have fixed bits that can not be changed.  The shaft has the bit (or chuck) at one end and the other has a hole through which the cord or string passes.  The shaft has to be long enough to allow the string to wind around the top as the drill operates.  On the shaft towards the bit, is placed a flywheel, which gives the bit momentum as it is being used.  Commonly made of hard dense wood, soapstone or other stone that can be easily worked can be used as can machined metal such as brass, iron or bronze occur on historical examples.  The handle has a hole in the center that passes over the shaft and a hole is drilled in each end, through which the string passes and it attached.  The string is tied to one end of the handle, the handle is slipped over the shaft, and the string is threaded through the hole at the top of the shaft and passes through the hole on the other end of the handle.  The handle is positioned just above the flywheel and the other end of the string secured to the handle.  To start drilling the shaft is turned while the handle is held with your hand.  The handle is pulled up as the string winds up around the top of the shaft and when it is pulled up, the bit is placed where it is going to drill and gentle downward pressure is applied to the handle causing the shaft to turn.  As you reach the bottom of the stroke, the drill reverses direction and the flywheel winds the string back up as you continue to drill.  A simple up down stroke is converted into the circular action needed for drilling.  Once you develop the rhythm this tool is a pleasure to use.  Why this tool is not used more is beyond me, it is easy to build and can be used anywhere.


Archimedes Drill – Whether Archimedes developed this drill is not known, however his principle of the Archimedes Screw lends its function and name to this drill.  These can have fixed bits or chucks for interchangeable bits.  There is a metal shaft made of square stock that is twisted from top to bottom.  A free spinning knob on the top is used to hold the shaft and bit in position and to provide pressure for drilling.  A hollow knob with a metal follower on one end of the hole has a square opening just slightly larger than the metal shaft.  As the knob is moved up and down on the shaft, it causes the square metal shaft to rotate back and forth producing the drilling action.  Linear motion is converted into circular motion in a rather novel and unique drill.  Another tool that is very handy for small holes.  Versions of this tool are still being made and work quite well.


Hand Crank Gear Drill – The most modern of drills considered here, this tool was developed in the nineteenth century and became common after the American Civil War.  These require machining to make the necessary parts and gears.  Commonly called an eggbeater drill a circular motion is converted and accelerated to another circular motion to do the drilling.  This type of drill used bits that cut only in one direction, however you can use double cutting bits in this tool.  A handle and framework provides the place for the gears, shaft and crank handle can be attached.  By turning the crank handle the action of the large gear spins the smaller gear attached to the drilling shaft and chuck.  The gear ratio gives a mechanical advantage as well as an increase in speed.  Another version of this tool is incorporated into a special stand and with two crank  handles for drilling large holes in timber frame construction and was introduced in the early 1850’s.  Early models used a leather belt on a pulley to extract the bit after it has drilled to depth.  Later models used a rack and pinion gear to pull the bit out of the hole and some were adjustable to drill at angles.  Having a wooden base framework, the worker could sit or kneel on the end to hold it in place.

Chucks & Collets – These are the devices that secure the drill bit to the drill.  A method of attaching bits to drills made of wood is a simple slot cut in the end of the shaft and a flat piece of metal, shaped to the size of the drill on one end is held within the slot or kerf and held with a screw, bolt and nut or a compression ring.  A metal ring is placed on the shaft that is turned with a taper from the bit end getting smaller as it goes up the shaft.  The ring is snug fitting and when it is forced onto the taper it pinches the bit in the slot securing it in the correct position for drilling.  This split collet is a simple and elegant solution to fixing bits to the drill.  Another traditional chuck is a tapered chuck.  These are used in metal versions of bow drills, pump drills or other types and require accurate machine work.  The bits need an appropriate taper turned on their shanks and the chuck has a tapered hole that the machined bits fit into.  The friction fit holds them in place and the downward pressure also holds them in place.  Because they can be difficult to remove, slots are provided on the shank that allows a small wedge to be driven in on the backside of the bit to force it out of the chuck when it needs to be changed or sharpened.  Square tapered chucks can also be used to hold traditional drill bits.  These can be friction fit, equipped with a spring chuck to catch and secure the bit or a thumbscrew to hold the bit in place.  The split collet holds straight round cylinder bits and have very little adjustment for size variation.  The split collets come in different sizes for different bit shank sizes.   Split chucks or double chucks were developed in the late nineteenth century (1880) and were capable of holding square tapered bits as well as larger round drill bits.  The Jacobs Chuck with 3 jaws was invented by Mr. A. I. Jacobs in 1902 and has become the modern standard to hold round drill bits.  However, they can not hold the old square tapered bits and many fine old examples of drill bits with square tapered shanks have been destroyed by cutting off the square part so it could be used in a modern drill.  The ratchet mechanism was incorporated on bit stocks in the 1890’s.

Box Engine – This is a rather unique drill that is capable of drilling large holes as well as tapered holes and was used by wheelwrights to make the tapered holes in wheel hubs (boxes) to fit the tapered thimble skeins.  This tool has a threaded shaft with a turning handle on one end, an adjustable L shaped cutter held by a bolt and a three tined, tapped flange.  There needs to be a hole previously drilled through the work, through which the threaded shaft is inserted and the flange (nut) holds the shaft centered in the work and the tines engage the wood.  The cutter is adjusted to the desired size of the hole being re-drilled.  The L shaped cutter is sharpened along the long and short leg on the inside to cut both down and out.  The handle is then turned advancing the cutter into the wood, when it reaches the other end  the cutter is reversed until the flange disengages from the wood and is turned off.  One advantage to this cutter is that it can cut a tapered hole, by stopping the cutting backing out, adjusting the cutter and continuing until the taper is cut.  Tapered reamers are then used to smooth the tapered cut with the box engine removing the bulk of the wood.

The Benefits Of Having A Detail Sander

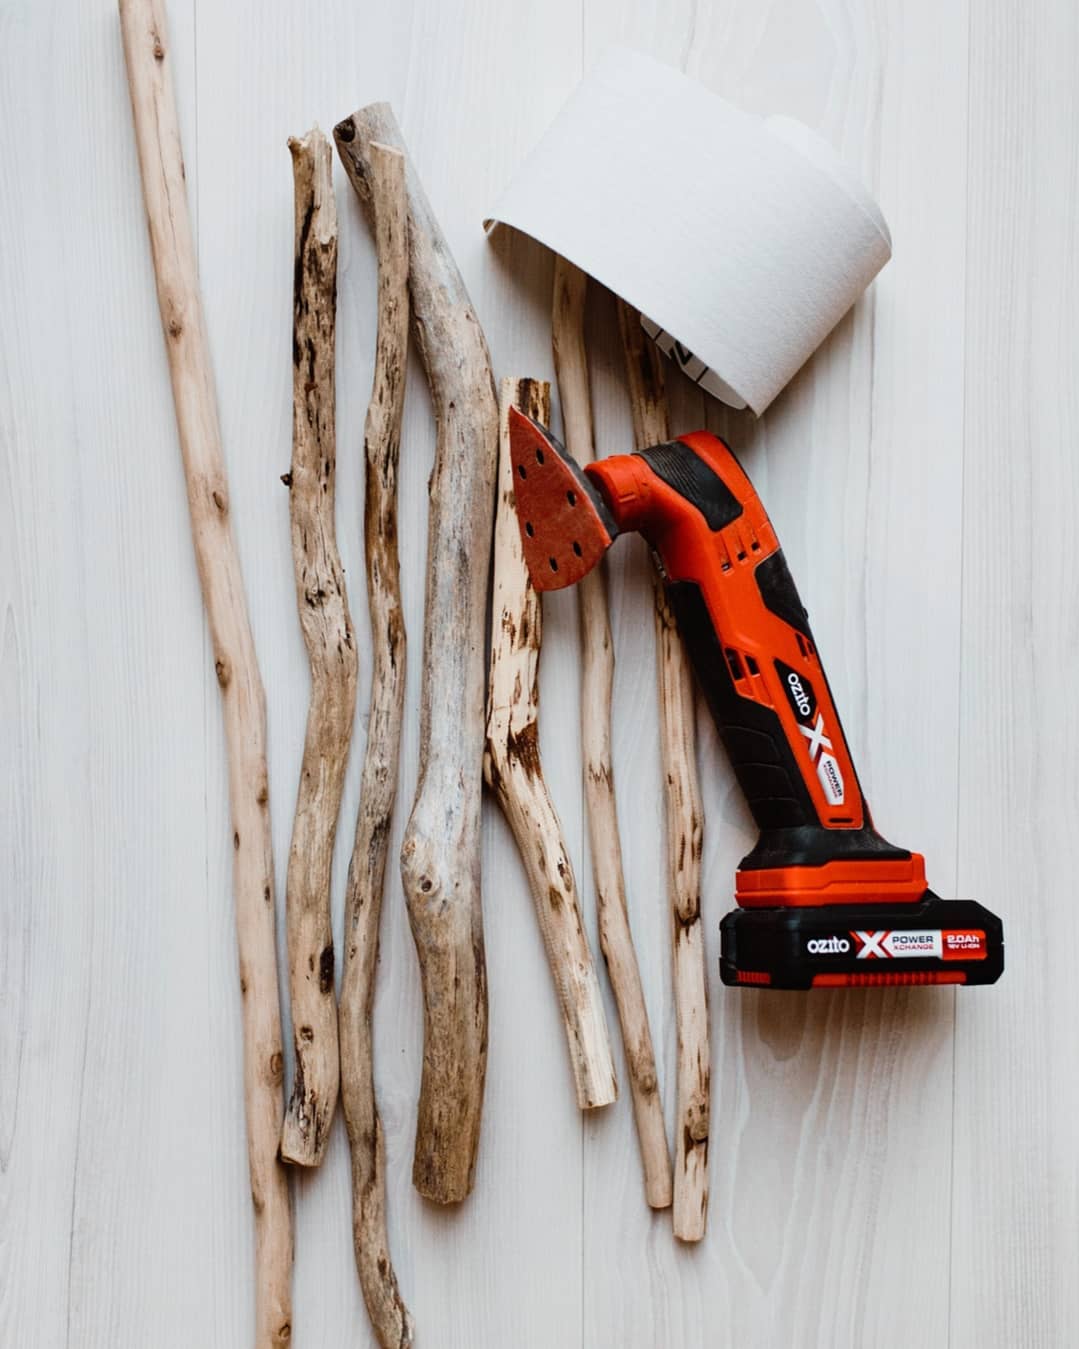
Wood working can require a lot of different tools. The exact tools that are required tend to depend on the type of projects that you typically undertake. However, anyone who does a lot of woodworking would benefit from having a detail sander, that it won’t work even with the best benchtop sander. These sanders are power sanders that can make detail work a lot easier. It can take a long time to get corners, edges, and small spaces sanded nice and smooth with sandpaper, but with a power sander like this it is much easier.

You can buy either a corded or cordless detail sander. Cordless options tend to give you more options for where you can use them, but you need to make sure to keep the batteries well charged. With a corded model you know you will always have the power that you need when you need it. These sanders come with a number of different attachments to make it possible for you to sand all those hard to reach or tiny places that other sanders just won’t be able to reach easily. Besides the attachments that actually come with this tool, you can also get extra attachments depending on your needs.

Detail sanders are particularly useful for people who work with furniture, especially furniture that has ornate carving. It is, however, important for you to use your tool carefully. You want to work slowly, and to be careful not to put too much pressure on the material that you are working with. This sander is meant to take away small amounts of material at a time, and you don’t want to compromise either the item that you are sanding or the sander itself by forcing it to go faster or using more pressure than it is meant to be used with.

There are a number of different manufacturers for detail sanders. Some companies that you might want to consider include Ryobi, Bosch, Triangle, Versapak, and Porter Cable. Of course some have more accessories than others, and not all are of the same quality, so it is important to do your research. Checking out benchtop sanders reviews that other customers have posted online can help you to determine the pros and cons of the various options, and make sure that you choose one that will perform the tasks that you will require of it.

Building Picture Frames

Picture frame molding is easier to make than you may think. I made these simple wood picture frames and want to share with you how I did it so you can build picture frames.

These are some pine shelving boards I bought from a Habitat for Humanity store. I cut the wood on my table saw 2 3/4 inches wide. You could use a skill saw.

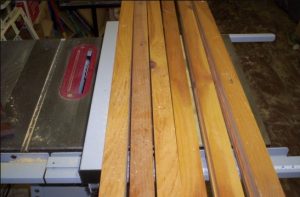
Here the boards are cut and ready for the next step.

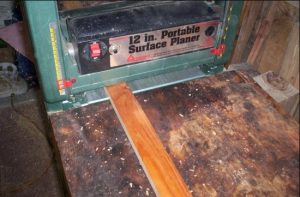
Since the boards have a coat of poly on them I am going to use a planer with the blades set to take off what is needed to clean the finish off and have a bare wood surface. You could use a sander to do the same job it will only take a little more time. A wood planer is a very handy machine to have.

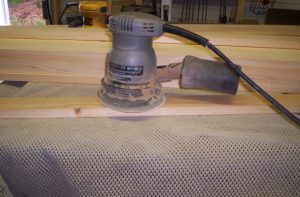
I give the wood a light sanding. Sanding wood tips.

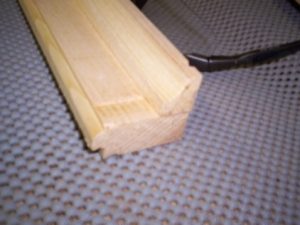
I cut some of the boards 3/4 inch thick and use a 3/4 inch cove router bit to make my first piece of molding for the picture frame.

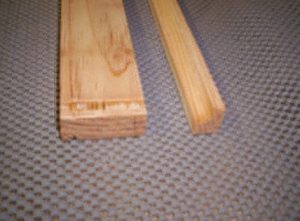
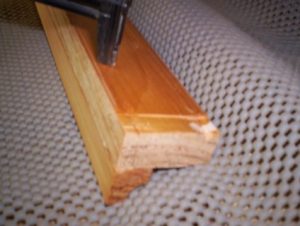
Here is one picture frame board and one piece of cove molding ready for assembly. Notice the ugly indention left from the woods previous life as a shelf. That will be cut off when I start cutting the boards to size.
I glue the molding on the picture frame board and use a brad nail gun to hold it in place while the glue dries. All you need is something that will shoot up to 1 1/4″ nail. Check the nail length so they won’t protrude out the face of the frame. I nail from the back side so I will not have holes to putty on the face of the picture frame.

Wipe off any glue that squeezes out with a damp rag. Make sure you clean all the glue off or you will have trouble later if you stain your project.

I now take a straight router bit and router out the area where the picture and glass will go. I used a 3/4 inch bit but you can use a smaller bit to do the same job. I used this bit to cut a dado for a 3/4 inch shelf board to fit in on another project and adjusted the router table fence rather than changing the bit for a smaller one.
I removed approximately 3/8 of material for 1/8″ glass, the picture, and a piece of cardboard to be put on the back.

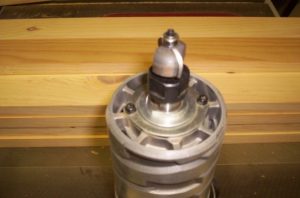
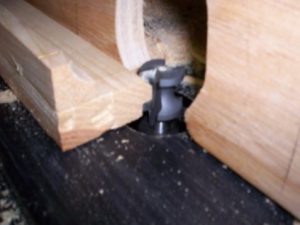
Here is a prime example of figuring out what you want before you start. I, on the other hand, decided in the middle of making the picture frames that I needed to add a bead where the wood will meet the glass. Here I used a edge bead router bit to do the job.

Only the top of the bit is cutting wood -the bottom is in the area already cut using the straight bit earlier. I could’ve used a round over bit to accomplish this before I nailed the cove molding to the frame board.

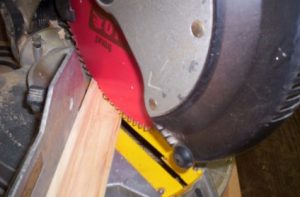
Now with my picture frame moldings all done I’m ready to start cutting them with a compound miter saw to size. I have to make eight frames of various sizes

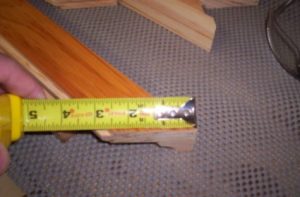
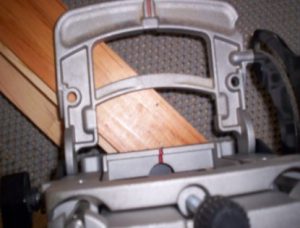
After I cut the frames to size I measure across the 45 degree cut to mark the center. I then line up the biscuit joiner and cut out for biscuits. Biscuits make a strong and quick joint.

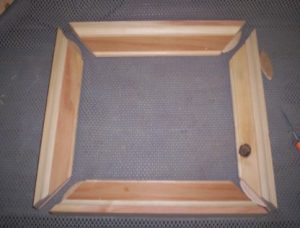
With all the cuts made I test fit then glue it all together and pop a 3/4 inch nail through the sides with a brad nailer to hold it together until the glue dries.

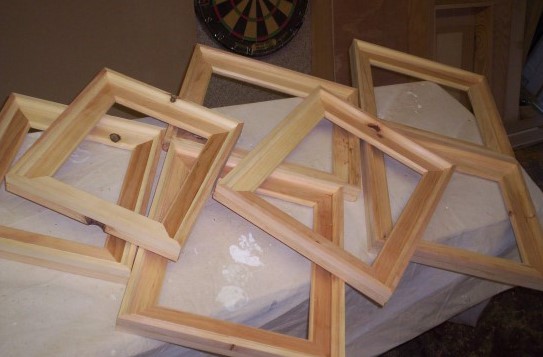
Here are seven of the eight wood picture frames ready to be stained. Here you can learn to stain wood picture frames.