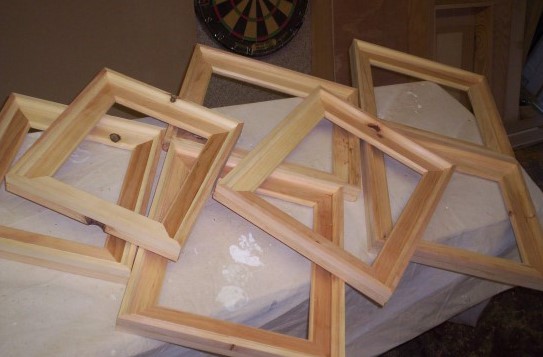
Picture frame molding is easier to make than you may think. I made these simple wood picture frames and want to share with you how I did it so you can build picture frames.
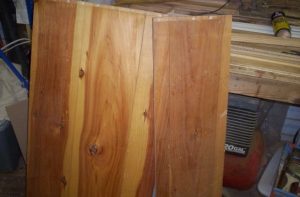
These are some pine shelving boards I bought from a Habitat for Humanity store. I cut the wood on my table saw 2 3/4 inches wide. You could use a skill saw.
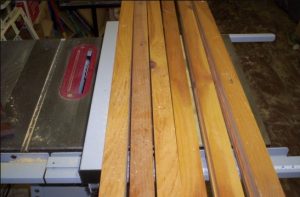
Here the boards are cut and ready for the next step.
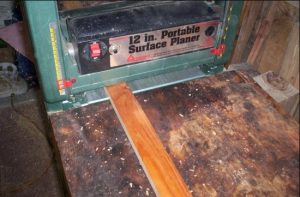
Since the boards have a coat of poly on them I am going to use a planer with the blades set to take off what is needed to clean the finish off and have a bare wood surface. You could use a sander to do the same job it will only take a little more time. A wood planer is a very handy machine to have.
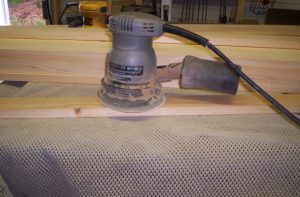
I give the wood a light sanding. Sanding wood tips.
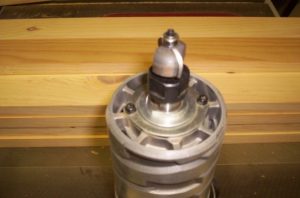
I cut some of the boards 3/4 inch thick and use a 3/4 inch cove router bit to make my first piece of molding for the picture frame.
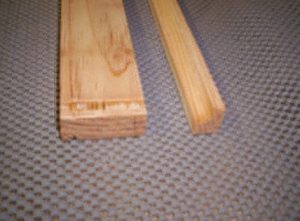
Here is one picture frame board and one piece of cove molding ready for assembly. Notice the ugly indention left from the woods previous life as a shelf. That will be cut off when I start cutting the boards to size.
I glue the molding on the picture frame board and use a brad nail gun to hold it in place while the glue dries. All you need is something that will shoot up to 1 1/4″ nail. Check the nail length so they won’t protrude out the face of the frame. I nail from the back side so I will not have holes to putty on the face of the picture frame.
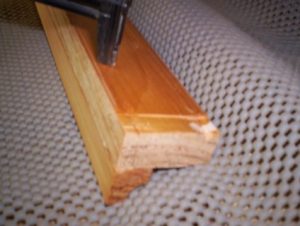
Wipe off any glue that squeezes out with a damp rag. Make sure you clean all the glue off or you will have trouble later if you stain your project.
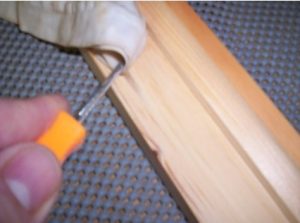
I now take a straight router bit and router out the area where the picture and glass will go. I used a 3/4 inch bit but you can use a smaller bit to do the same job. I used this bit to cut a dado for a 3/4 inch shelf board to fit in on another project and adjusted the router table fence rather than changing the bit for a smaller one.
I removed approximately 3/8 of material for 1/8″ glass, the picture, and a piece of cardboard to be put on the back.
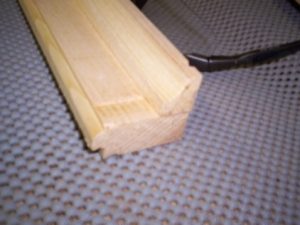
Here is a prime example of figuring out what you want before you start. I, on the other hand, decided in the middle of making the picture frames that I needed to add a bead where the wood will meet the glass. Here I used a edge bead router bit to do the job.
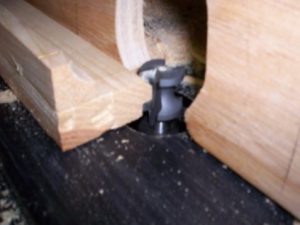
Only the top of the bit is cutting wood -the bottom is in the area already cut using the straight bit earlier. I could’ve used a round over bit to accomplish this before I nailed the cove molding to the frame board.
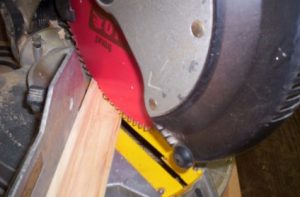
Now with my picture frame moldings all done I’m ready to start cutting them with a compound miter saw to size. I have to make eight frames of various sizes
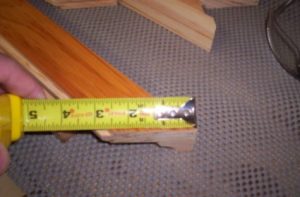
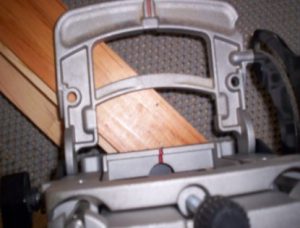
After I cut the frames to size I measure across the 45 degree cut to mark the center. I then line up the biscuit joiner and cut out for biscuits. Biscuits make a strong and quick joint.
With all the cuts made I test fit then glue it all together and pop a 3/4 inch nail through the sides with a brad nailer to hold it together until the glue dries.
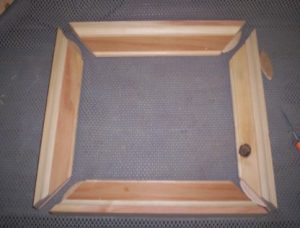
Here are seven of the eight wood picture frames ready to be stained. Here you can learn to stain wood picture frames.
